Saturday, November 26, 2011

Installing a/c: installing the drain pan and completing the framing

When I test fitted the a/c unit, I noticed the front panel tilted funny. It looked like the unit was not level front to back.   That's when I realized that a/c units tilt down when installed in windows and the front panels are angled accordingly. I cut a strip of wood to fit on top of the the front brace for the a/c unit to sit on. This also allows the water which collects in the bottom of the a/c unit to drain correctly.


I drilled some pilot holes to prevent the strip of wood from splitting and installed with screws.

Here's a closer look.

I didn't want the unit to slide around while I drove down the road, so I tacked down some nonskid material. 

Here's a closer look.

I needed to keep the unit centered (left side to right side) in the cabinet, but I also wanted to be able to take the unit out if I needed to. It was a good thing I planned for this because I had to take the unit in and out a couple of times to correct ventilation issues. I bought some threaded furniture glides and rubber end caps (for chair legs). I trimmed the rubber caps    to about half they're length and inserted the metal glides into the caps.

I bought the correct sized tee nuts for the threaded glides.

Drilled a hole for the tee nut to fit into the side framing. The tape on the drill bit lets me drill to the correct depth. I didn't want to drill through the side panel.

I hammered the tee nuts into the side framing and screwed the glides into the nuts.

Here's a closer look. This is to tighten against the sides of the a/c unit to keep it from moving left and right while I'm driving down the road. I can also adjust the placement of the a/c unit from left to right by screwing this in and out. I placed these in the framing on both sides of the a/c unit.

I used a hole saw bit to drill the hole for my drain. The size of the bit is determined by the diameter of the drain pipe shown a couple of picture down. 

Drilled the hole. 

A closer look.

I put plumbers putty on the drain assembly I bought. I found the drain assembly at Lowes in the RV plumbing section. It can't be the kind that goes under the sink in your house. Those have a hole for the lever to raise and lower the drain plug.

Here I've placed the drain assembly in the hole I cut in the jelly roll pan.

Then I tightened the nut down onto the rubber washer and the plumbers putty.

Here's the view from the top.

Here's the view from the bottom.

I placed the drain pan where its going to go and shined a light down the drain.

This showed me where I need to drill the hole in the floor for the drain line to exit.

I drilled the correct sized hole through the floor of the trailer for the drain.


Before I permanently installed the pan, I placed a wood shim under the pan's lip to angle the pan toward the drain hole. This  lets the water run to the drain instead of sitting in the low end of the pan. The pan is a little flexible so this worked great. This is a picture of the shim I used not where it is installed. The shim is installed on the wood ledge just to the right of the pan's lip in the picture above.

This is a picture of the installed drain pan looking from the outside of the trailer. You can see how it's angled to drain toward the drain. You can also see the metal corner brackets I used to install the support framing the a/c unit sits on.
This is a view from the inside of the trailer. You can see the wood shim  mention a couple of picture ago installed just to the right of the pan. I used cable clips to hold the pan in place (pictured on the right side of the pan). 

Here's a close up of the wood shim and the cable clips.

I ran a garden hose through the hole I drilled in the floor of the trailer. The reason I used a garden hose is its flexible and I had it laying around. A guy at the local hardware store showed me the fittings I needed to attach the hose to the drain.

I installed the a/c unit. After I centered the unit, I tightened the threaded casters I'd installed earlier.  You can see them  pictured here tightened against the side of the unit. Notice the units power cord on the bottom left corner. I had to run the a/c unit's electrical plug through this gap before I installed the piece of wood the unit sits on. 

Another picture. You can see the drain on the right side going out the floor.

This a picture of the hose running under the trailer. I didn't want water dripping on the door side of the trailer, so I ran it to the other side of the trailer.


The end of the hose.

I drilled the center out of a brass end cap and got a filter to screw into the end of the hose to keep bugs from building nests in it and blocking it up. 


Here you can see the screen in the end cap.

Installed and draining.

Adding a/c: framing the cabinet for the unit

I've removed the access door in the back of the closet. The pan I plan to use to catch the water from the a/c unit is sitting to the right. It's a heavy duty aluminum baking sheet called a "jelly roll pan".

This is a picture of the framing for the a/c unit and the fridge. I plan to use the dorm fridge that came with the trailer, but it didn't match the retro look. I plan to hide the fridge behind the cabinet door above the a/c unit.  The wood framing at the top is for the fridge and will be discussed later. The wood framing running right to left (bottom of picture) and the drain pan are not installed. This is just a test fit.

A closer look.

An even closer look. Note how the pan is slopping down to right. This for draining. It has to slope  down toward a specific corner to drain properly, because thats the only place you can run a drain line out the bottom of the trailer.

This is the wear the drain hole will be drilled into the pan. This picture is from under the pan. The wheel well is in the left bottom corner of the picture.

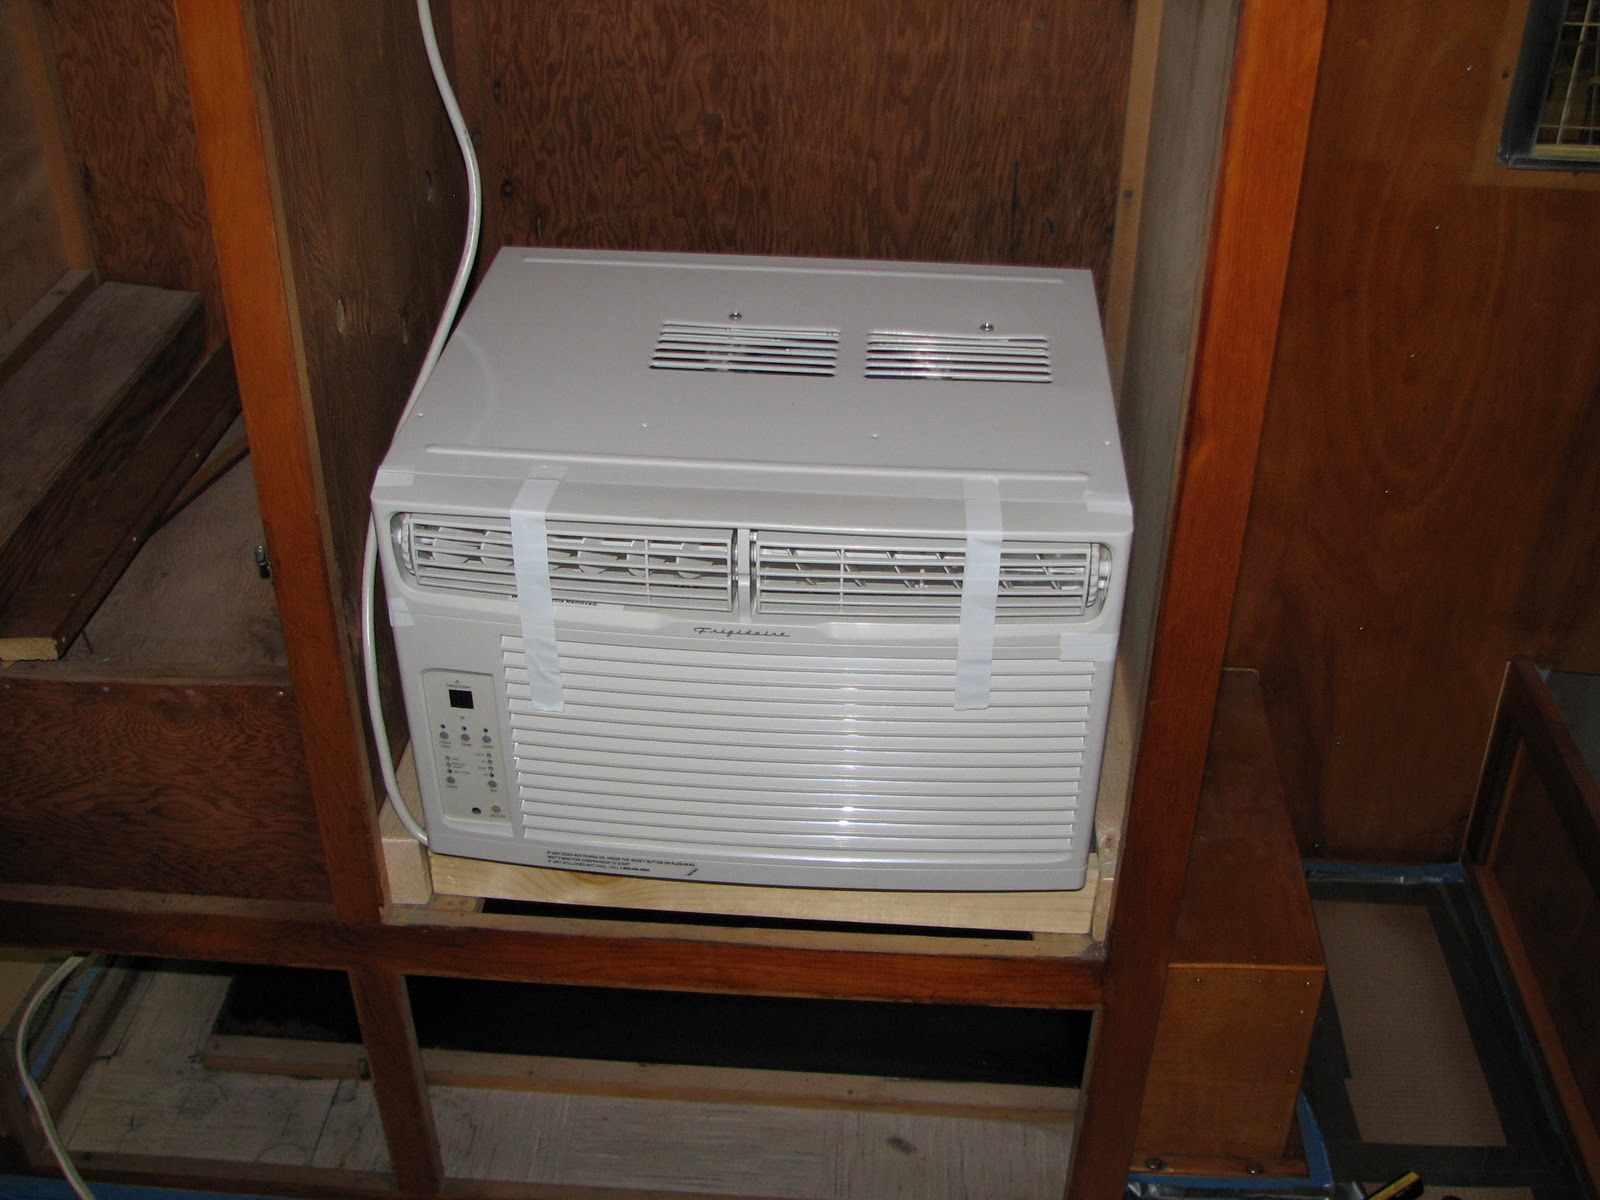
Test fitting the a/c unit. I had to make sure the unit would sit on the framing on each side of the drain pan at the front...

and back.

This is what it looks like from outside the trailer.

Adding A/C: running the power

The framing in the walls and ceiling are not strong enough for a/c units. I also didn't want a new a/c unit stuck to the outside of my vintage trailer. In my model Shasta, there's a perfect spot to install an a/c unit over the wheel well on the closet side of the trailer. Originally, a propane fridge was located here and there's already a vented assess door. This provides ventilation and assess to the back of the a/c unit.
When I bought the trailer, there was a dorm style fridge sitting here.  You can see the outlet  a previous owner had just set in the bottom of the cabinet. Amateur!

Another picture of how the wiring was done.

I made sure the wire running under the trailer was stapled up to the trailer .

I also used some zip ties to keep the wire from sagging low under the trailer.


This the new outlet box I plan to use.

I installed the outlet in the space behind the gas furnace.

This is the installed plug. I plan to use it to power my a/c unit and my ventilation fan. I made sure I stapled the wires down good to keep them away from the heater. The white cable is bringing the power in from the breaker box and runs under the trailer. The yellow cable is running power to the top of the closet for my fridge and will be discussed later.


Interior AC wiring upgrade: running new wires through the ceiling

  I wanted to put an outlet in the top cabinet above my sink. This outlet is going to provide power to my dome light upgrade and let me recharge stuff (cell phones, ipods....) in an out of the way location. The light fixture between my cabinets was used as a junction box by the manufacturer. It was a pain dealing with that many connections in such a small space much less adding a new run of cable. So, I changed things around a little.
This is the light fixture between the cabinets and how it looked when I bought the trailer.  Three pictures down you can see how much cable is run to this fixture.

This is the cabinet toward the front of the trailer with the roof vent next to it. This is where I plan to put a junction box. In this picture I already have the ceiling panel removed. A previous owner had already replaced this area of ceiling because I didn't have to cut the back of the panel. All I had to do was remove the screw holding the front of the cabinet to the ceiling. Then the ceiling panel slid out the front over the cabinet. 

This is a close up of the above picture. This shows the hot wire coming from the breaker box (bottom of picture) and running to the light fixture (left). The white wire running straight from left to right is the power going from the light fixture in the sink area to the end of the run at the light over the dinette.  

This is how it looked when I removed the light fixture. There were just too many connections for the fixture and the small box that fit into the ceiling. A previous owner had already replaced this section of ceiling. I couldn't completely remove the panel but was able to pull it down enough to run new wires. 

The wire to the left goes to the wall sconce above the bed at the back of the trailer.  I wired this into the light fixture instead of running a new line. I taped new cable to the old to snake through the ceiling to the new junction box.

I labeled all of my cables so I knew what I wanted it to go to after snaking it through the ceiling. and to keep me from getting confused at the junction box.

While I had the ceiling panel out, I marked where I wanted the junction box and drilled holes for the wires. I slid the panel half way back and fed the wires through the holes.

this is a close up of the above picture.

Now I have all my wires pulled through.

I mounted the junction box and reattached the ceiling panel. I had to be careful not to screw through my new wires. I also put the screw back into the ceiling to hold up the front of the cabinet.

I ran a cable straight from the junction box in the front cabinet to a new junction box in the rear cabinet. This run bypasses the light fixture between the cabinets and powers an outlet in the back cabinet. To the left you can see the outlet. My dome light plugs into this outlet and I use it to charge stuff.

I would have never fit all this into my light fixture. This is the new junction box in the front cabinet.

Installed the cover.

This is the front junction once completed.

The installed light fixture with the ceiling panel back in place.

This is the junction box in the back cabinet. I could have skipped this and run the powered line straight to the electrical outlet in the cabinet. But, I ran one of my cables through the ceiling too short and had to put in the box.